🏠
Section 1.

Two Kinds of Picture

There are two kinds of pictures:

  1. Vector pictures
  2. Bitmap pictures

Vector

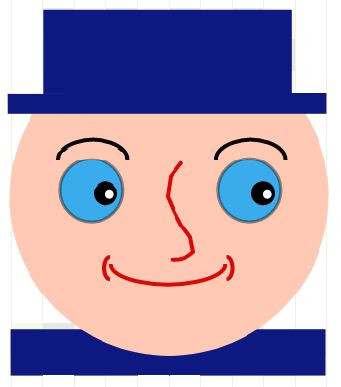
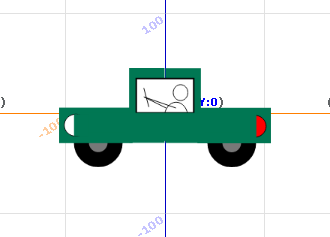
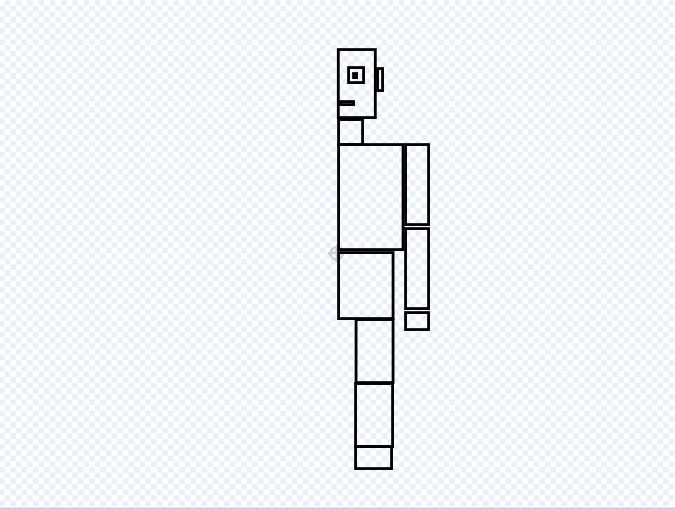
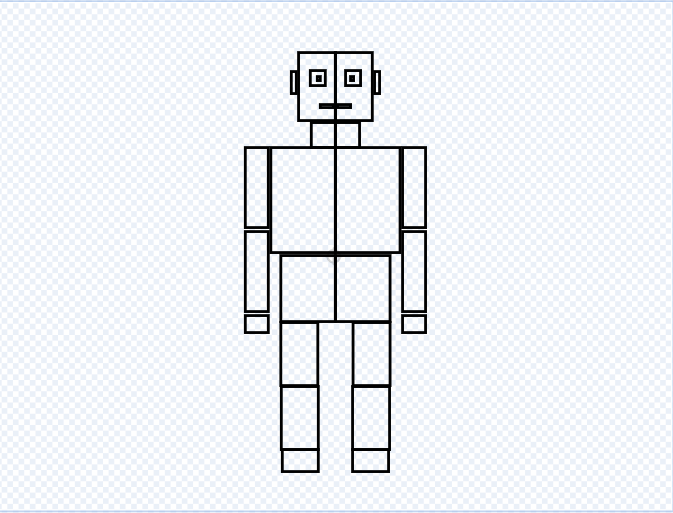
A vector drawing is a list of instructions to the computer. Each instruction tells the computer to draw something. It could be a square, a rectangle, a circle, an ellipse...or many other things. The computer knows what to do when it gets one of these instructions. So this is how a vector picture is made.

Bitmap

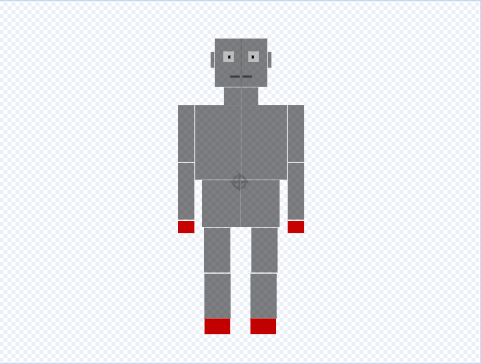
A bitmap drawing is completely different. Each tiny dot that makes up the picture is called a pixel. A bitmap picture is a very long list. Each item in the list is about one pixel. It says what colour it should be and how bright it should be. So the computer just fills in each pixel on the screen with the right colour at the right brightness.

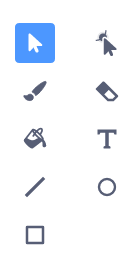
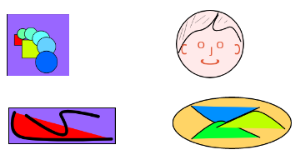
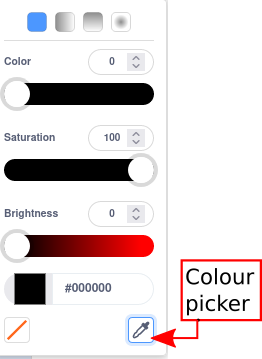
The first picture shows the tools you use to make vector drawings. The second picture shows the tools you use to make bitmap drawings.

In the Scratch sprite editor you can hover the mouse over each tool and it will tell you what it does.

Section 2.

Simple Shapes

We have done all our coding using a sprite that is just a square. Now it is time to use our imaginations and create a sprite of our own.

To start with we will create a sprite that is just one simple shape. This shape can be:

To create a square hold down the shift key while you are using the 'Rectangle' tool. Without the shift key you can draw a rectangle.

To create a circle hold down the shift key while you are using the 'Circle' tool. Without the shift key you can draw an ellipse.

Section 3.

Get Artistic!

There are lots of ways to make your shape more interesting. For example, try just filling it with lots of other shapes. Try out lots of colours. Use the 'forwards' and 'backwards' buttons and see what they do.

Play with the line and the reshape tool. You can make all sorts of interesting shapes with these two tools.

You can also use letters and punctuation marks. Use the 'Text' tool. Letters can be made bigger or smaller. The face is made with 'o' for eyes, 'C' for the ears and the mouth and 'J' for the nose.

Use the 'Flip Horizontal' and 'Flip Vertical' buttons.

Use 'Copy' and 'Paste' to create copies of shapes. Then colour them in different colours.

Section 4.

Mr Square

It is possible to draw something by combining simple shapes. You could try doing this inside a square or rectangle. It takes patience and practice but is fun to do.

I suggest starting with the vector tools. They are easier to change if you change your mind. I tried it and came up with 'Mr Square'!

Section 5.

A Lorry

Perhaps you want to draw something that is not one simple shape? Drawing real things can be difficult to do. Try to think of things that are not too complicated!

Your sprite costume doesn't have to be one simple shape. It could be a few simple shapes. BUT it must be symmetrical.

Symmetry

What this means is that the left half of your sprite must be the same shape as the right half, except that, each one looks like the other one flipped over.

What can we see around us that is symmetrical?
People are mostly symmetrical: two ears, two eyes, two arms, two legs....
but we are not symmetrical when you look more closely!

It is only the outline of your sprite that needs to be symmetrical. It can be filled in however you want. This is what we did with our simple shapes, the squares and rectangles for example.

Once the basic shape is drawn you can put things inside the shapes. This is how the picture of the wagon was drawn.

Section 6.

Robot 1

If you want to try drawing something using more than one shape you could try drawing a robot. This can be made out of just rectangles. If we want to use our robot in our platform game then we need to draw it sideways on.

You only have to draw it once. If you draw it facing to the right there is an easy way to create another picture where it is facing left. The method is in sections 2 and 3 of this page:
Flipping Costumes

Here are some tips:

  1. Start with the vector tools.
  2. Use copy and paste whenever you need two shapes that are the same.
  3. If you select a shape, you can use the arrow keys to move it around. This can be simpler than using the mouse. Try both and see which you prefer. I use both methods.
  4. In the colour choosing tools there is one that copies a colour you already have. This can be useful to make things look like they are the parts of something. In the picture it is labelled 'colour picker'.

Keep everything lined up with the centre of the costume editor. The middle of your robot should be in the middle of the screen.

Section 7.

Robot 2

If you want to draw a robot that is facing you, try these steps to do it.

Start by drawing a vertical line and a horizontal line.

Then draw the right half of the robot.

When you are happy with it, use these buttons: Copy, Paste and Flip Horizontal

You now have the left side of the robot.

Move your copy so that it lines up with the right half of the robot.

Colour it in however you like!

You can even colour it in while you only have the right half if you want the inside to be symmetrical as well as the outline. That way, when you copy it to make the left side it will be coloured in just the same way as the right side.

🏠